Personal Website Using Travis CI and GitHub
This tutorial shows how to put into place a personal website using Pillar, and automatically deploy it using GitHub Pages and Travis CI.
Before going forward, let's precise the context;
- You have an idea of Pillar Syntax
- You have a GitHub account
- You don't have a website located at
https://your_github_username.github.io - You don't have a Travis account (or Have one : no matter)
You don't know how to write a Pillar document, you have a cheatsheet at https://squarebarcketsassociates.github.io/Booklet-PublishingAPillarBooklet/CheatSheet.html. No GitHub account, have a look there. In this tutorial, you need a Travis account linked to your GitHub one. Then after creating your GitHub account, follow the first part of this to set up a linked Travis account.
Then you are here to build your personal website and access it via https://your_github_username.github.io.
Let's explain our choices. With a GitHub account, you have some advantages or possibilities. One of these advantages is a free hosting service GitHub Pages provided via https://your_github_username.github.io. And you can build other websites based on that url like https://your_github_username.github.io/myProject. Read more about GitHub Pages.
The tutorial will go through these steps:
- Install Pillar
- Create a Github Repository for the website
- Clone the repository
- Install academic archetype
- Edit website pages and configuration
- Configure Travis CI
- Push On GitHub
Install Pillar
If you don't have Pillar installed, follow these command lines.
#clone latest Pillar version
#for SSH cloning
$ git clone git@github.com:pillar-markup/pillar.git -b dev-7
#for HTTPS cloning
$ git clone https://github.com/pillar-markup/pillar.git -b dev-7

$ cd pillar
#start installation process
$ ./scripts/build.sh

#add pillar command in the PATH environment variable
$ cd ..
$ mv pillar ~/.pillar
# update path in your .bashrc or .zshrc
$ export PILLAR_HOME="$HOME/.pillar/build"
$ export PATH="$PATH:$PILLAR_HOME"
Create GitHub repository
One important thing here, is that you should name the repository as Your_github_username.github.io in order to have your website available and updated everytime you commit.
Let's proceed following these steps:
- In the upper-right corner of any page, click +, and then click New repository as:

- Type a name for your repository Your_github_username.github.io.
- Optionally, add a description for your repository like "My Personal Website".
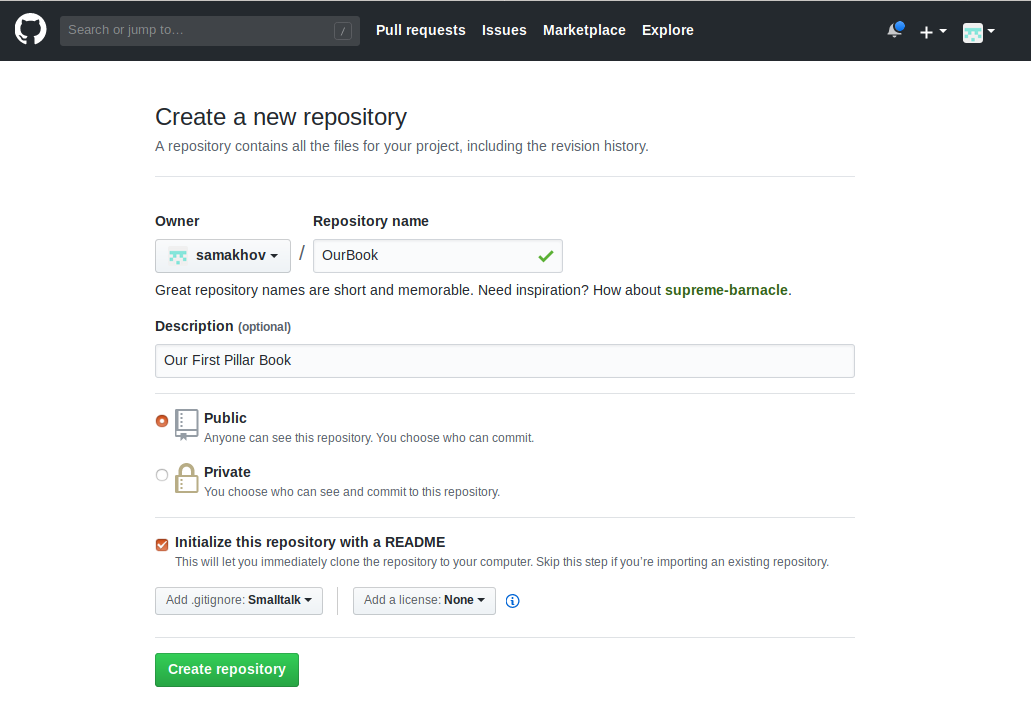
- Select Initialize this repository with a README.
- Add .gitignore by selecting Smalltalk as default language.
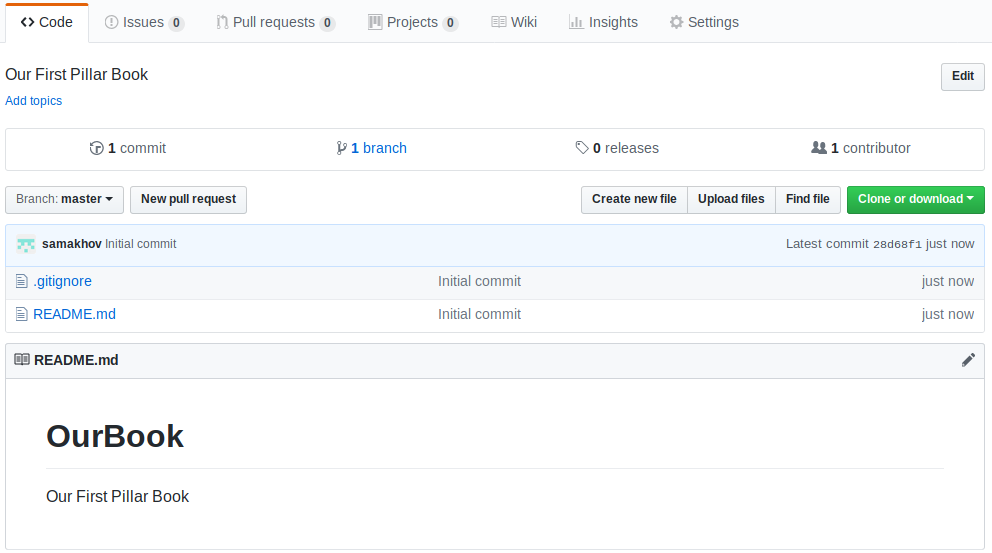
- Click Create repository to finish.
Your GitHub repository is now created and is empty (Just only a README.md file and .gitignore).
Clone the repository
Now the repository is created, clone it to your local machine.
Choose a directory anywhere in your machine and clone your repository.
: this part means you have git command line tool installed. If not, follow this.
#SSH
$ git clone git@github.com:Your_github_username/Your_github_username.github.io.git
#HTTPS
$ git clone https://github.com/Your_github_username/Your_github_username.github.io.git
Install academic
As you are building a website, you should install academic archetype.
$ cd Your_github_username.github.io
$ pillar archetype academic
The last command could generate errors.
- pillar: command not recognized. Check the path in your .bashrc or .zshrc.
- archetype: is not a valid command. Maybe, you have another program with the same name pillar on your machine. Try to remove it or change the path order like this export PILLAR_HOME="~/.pillar/build:$PATH"
- book does not exist. Check if a repository
bookis present under.pillar/archetypes, if not re-run./scripts/build.sh