Travis Quick Start
If you are here, this is because you are bored of piece of tutorials trying to show you the way to make your project built by Travis when committing on Github. Or I just send you here from a Pillar tutorial.
Let's precise the context:
- You have a project on Github
- You want your project to be build by Travis when you commit
- You don't have a free Travis account
We are going to set a Travis account via a Github account, synchronize your Github projects with Travis. Finally we are going to activate Travis continuous integration on a Github project and link Travis and Github via a token.
Create a Travis account linked to your Github account
Go to the travis official website .
You get something like the below scrennshot, it means you already have an account.
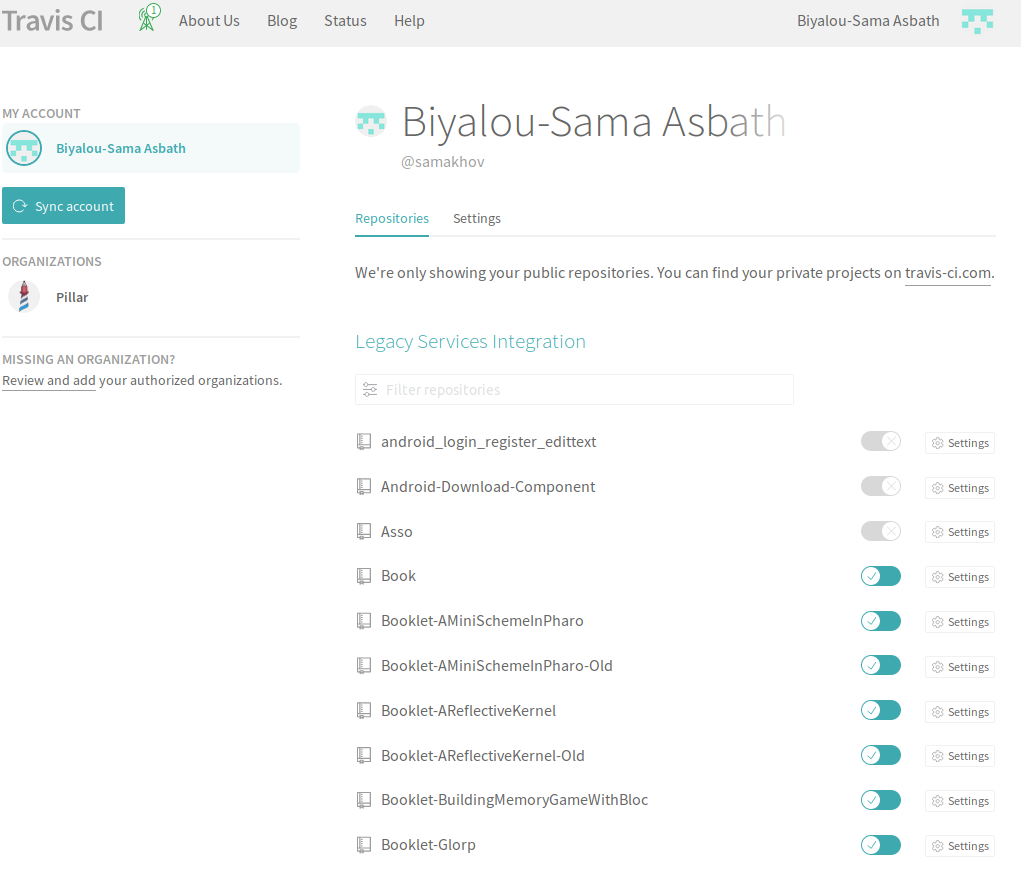
You should get something like this
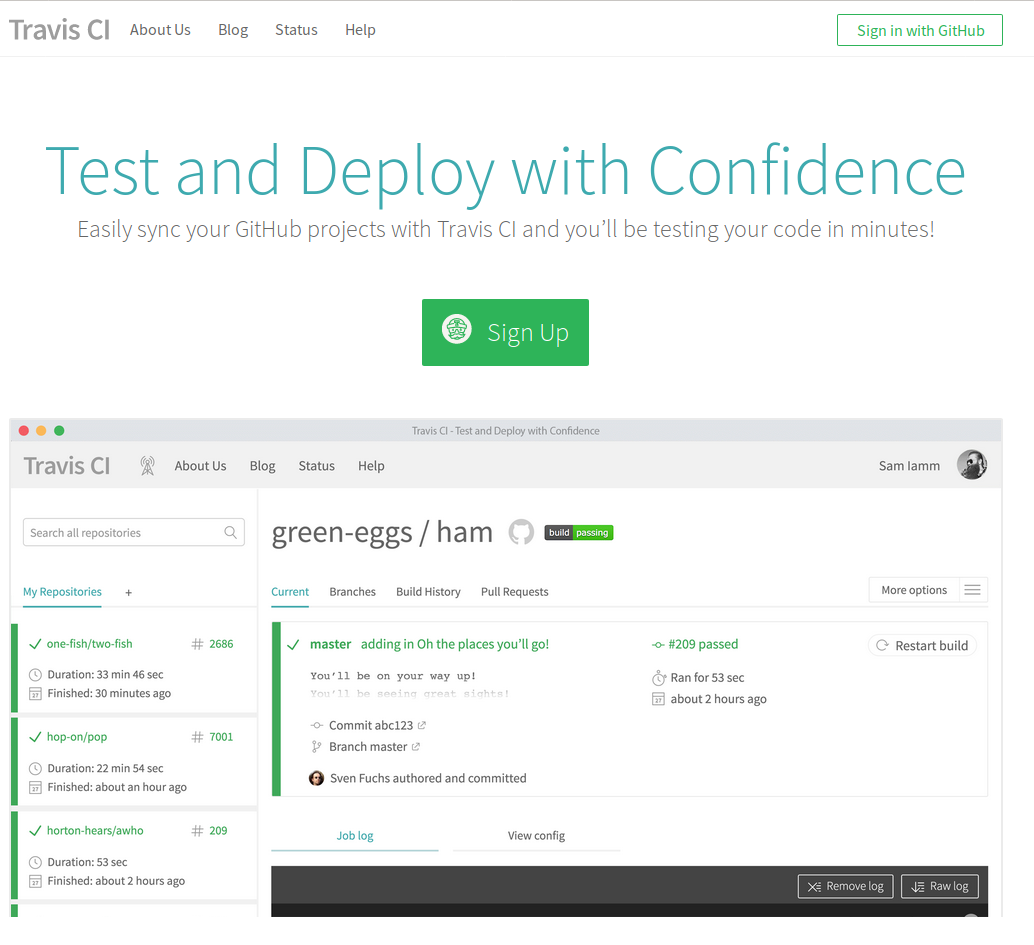
In the top right corner of the page you have a Sign in with GitHub button.
Just click on it and you should get a page asking you authorize the connection between Github and Travis.

You can read before click Authorize travis-ci. After that you are going to confirm by providing your Github username and password.
Few seconds after providing your Github credentials, you should get a page with your Github username with your names and a list of your Github projects.
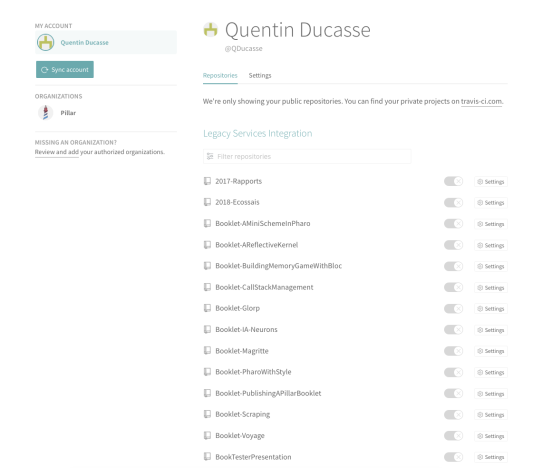
You can notice a Sync button on the left top. Use it everytime you add or remove a project on Github and you want it to be updated on Travis.
Activate Travis on your Github project
In the list of projects, just click on the switch button of the project you want.

You have just activated Travis on that Github project. Then now when you commit on that project, Travis will try to build your project with the new commit.
Token Generation
Often, Travis need to access to some project's files and do some actions with them. To achieve that, a link is created using a token. This token is generated by Github and added as an encrypted environment variable in Travis settings.
So go to your account settings (not a specific project settings) by clicking on a right top button Settings.
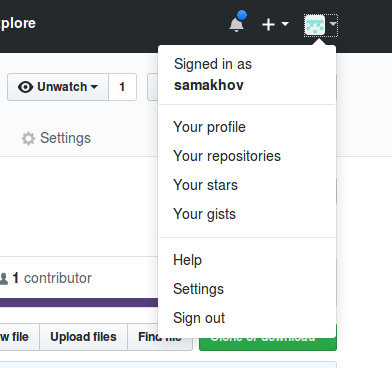
After that, click specifically on Developer Settings in the left menu, for access to more advanced settings.
Just click on Personal Access Tokens and you will get a page explaining what a token is and a button to generate a new token.

Click on Generate new token button and choose the right you token needs. These rights depends on which work you have to do with that token.
But generally, repo rights are good enough.
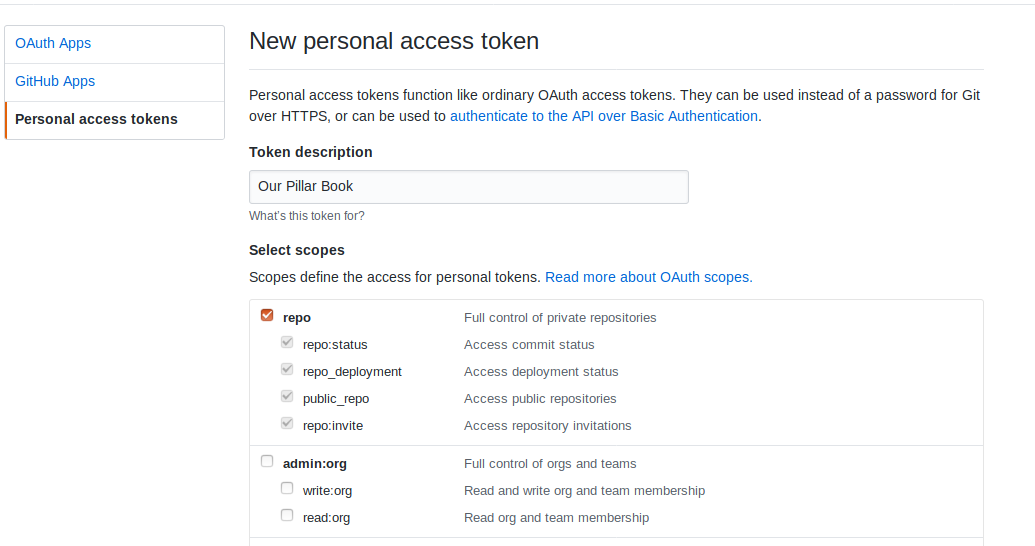
Click on Generate token button at bottom of the page to generate your token with rights you specified.
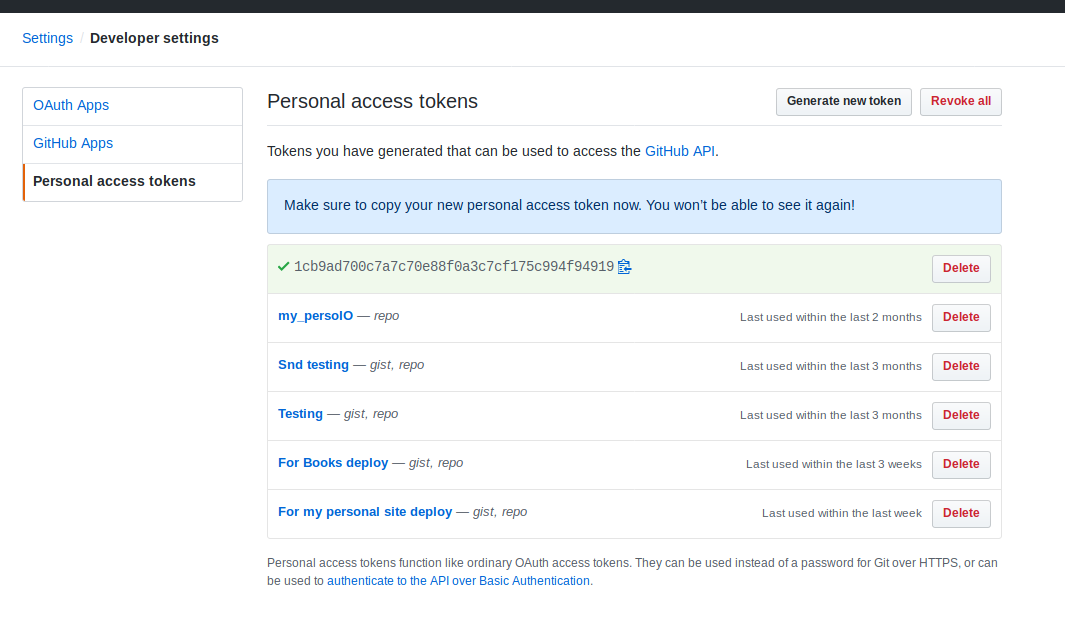
The number at the top of list in the above image is the generated token. Copy that token and save it in a safe place.
Add token to Travis
We are now going to add the generated token to Travis configuration as an environment variable. It will be automatically encrypted.
On Travis, Go to Settings of your project.
On settings page, you have a section named Environment variables.

Just provide as name GH_TOKEN (or something else) and paste the token in value field.
When clicking Add, you will have a new encrypted environment variable named GH_TOKEN.
For Pillar users
For people who are working with pillar to build books or website, here's a kind of .travis.yml file showing how to configure our process.
language: smalltalk

os:
    - linux

smalltalk:
    - Pharo-6.1

install:
    # Pillar installation
    - git clone https://github.com/pillar-markup/pillar.git .pillar -b dev-7  # Clone pillar
    - cd .pillar && ./scripts/build.sh && cd ..

script:
    - .pillar/build/pillar build html
    - cd _result/html && touch .nojekyll && cd ..

deploy:
   provider: pages
   target-branch: master
   skip-cleanup: true
   github-token: $GH_TOKEN
   keep-history: true
   local_dir: _result/html
   on:
     branch: source